| New Overtime Approval Option- Admin Apply on Behalf of Multiple Users |
| In TimeTec TA, there is an Approval module which enables the Admin to set up Overtime Approval rules. Assigned employees can apply for Overtime through the system and these requests will be submitted to their Manager/Admin for approval. |
| Now, we have enhanced this process, by adding an option allowing Admin to submit Overtime request on behalf of multiple users. These are the details: |
| i. By default, Admin will be allowed to apply for Overtime on behalf of users that are assigned under the Admin’s division. No additional setting is required at ‘Manage Approval Rules’. |
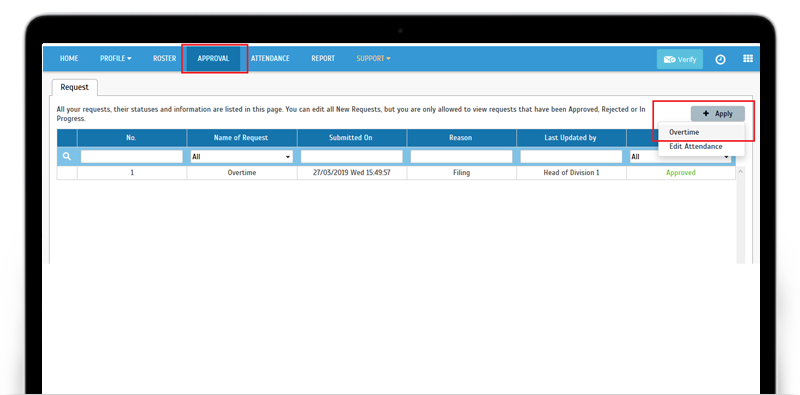
| ii. On Admin’s account, go to User View > Approval > Click on Apply button > Overtime. |
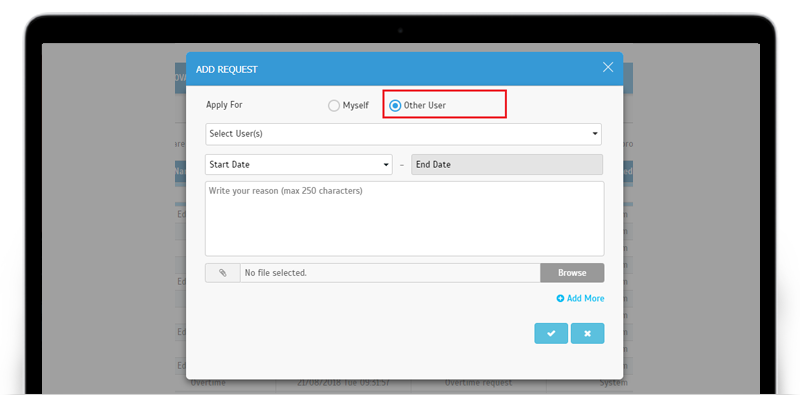
| iii. On the Add Request pop-up, select ‘Other User’ and complete the form as necessary. Submit a separate request if the time range is different for each user. |
| Please refer to the screenshots below for more details: |
| a. Admin’s User View > Approval page. Click on ‘+ Apply’ and select Overtime. |
 |
| b. Add Request pop-up > Select ‘Other User’ |
 |
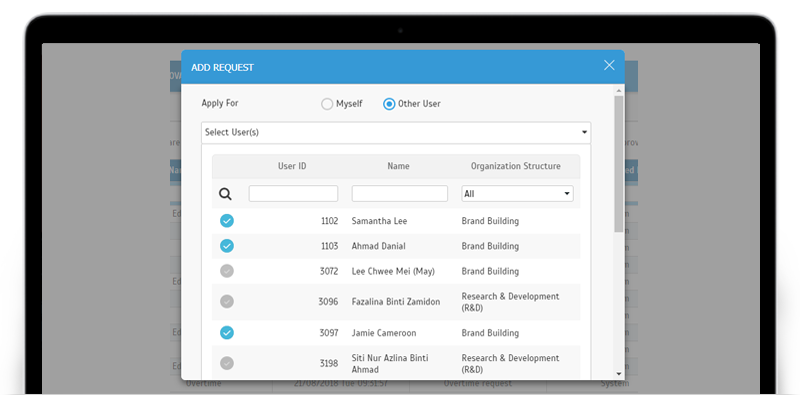
| c. Add Request pop-up - User the user(s) for which you want to add the request for overtime submission. |
 |
| TimeTec Employee Login Link for your Website |
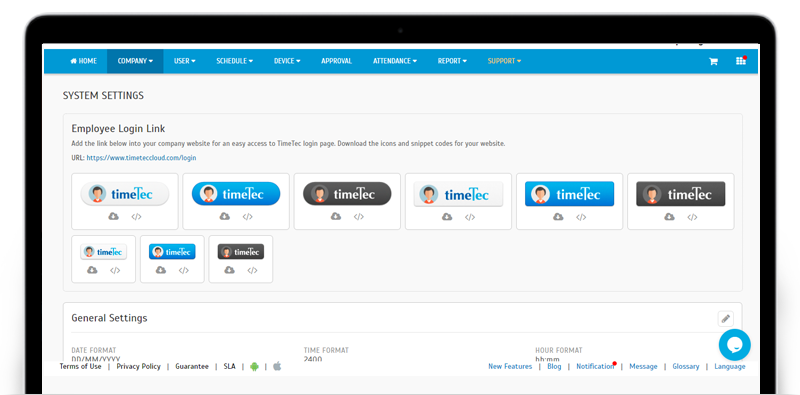
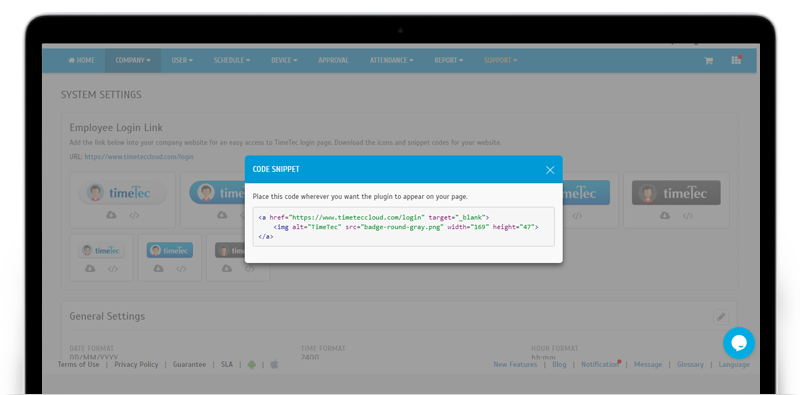
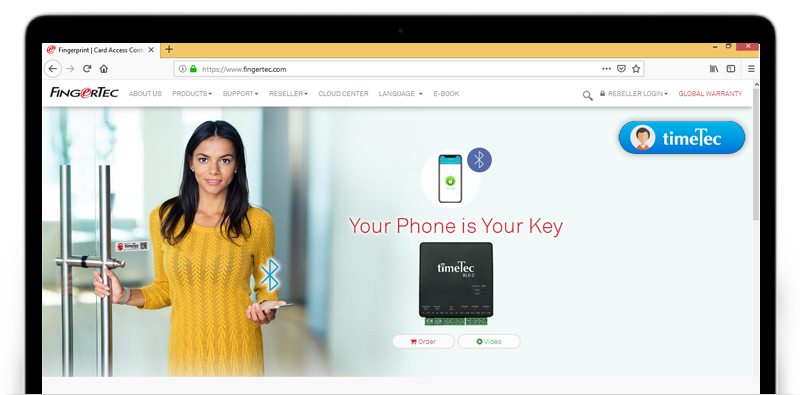
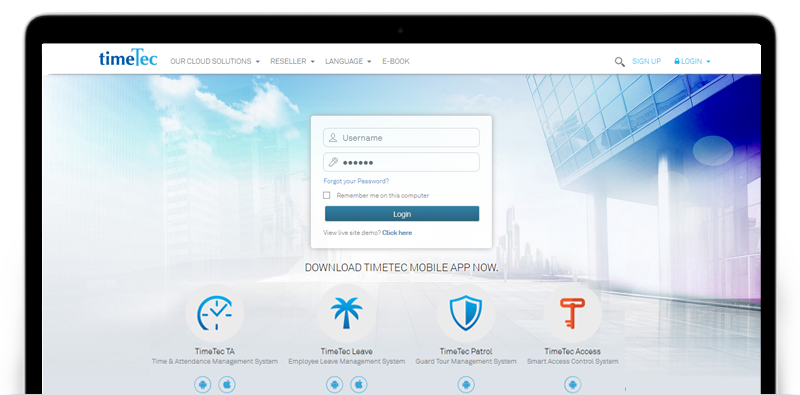
| For the convenience of your employees’ TimeTec login, we have recently prepared a link that can be added to your company’s website. Users can click on the link to access our login page at: https://www.timeteccloud.com/login To add this link, go to Company > System Settings and download your preferred icon design and the snippet code. |
| a. Added Employee Login Link at System Settings. |
 |
| b. Pop-up for Code Snippet |
 |
| c. Example of Link on Website |
 |
| d. TimeTec User Login Page |
 |
| User Email Verification Requirement |
| To manage the bounce rate and improve overall deliverability of our emails, we have implemented a new User Email Verification requirement in TimeTec TA. Please note that with this update, users need to take action and verify their email addresses as the system is configured to send emails only to users with verified addresses. |
| The new workflow for TimeTec emails: |
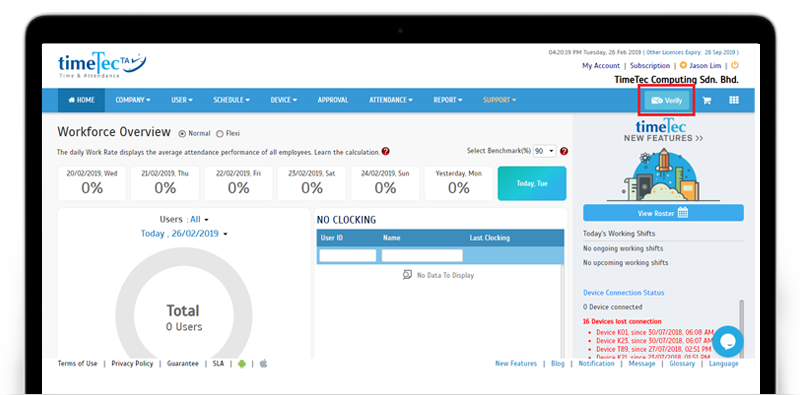
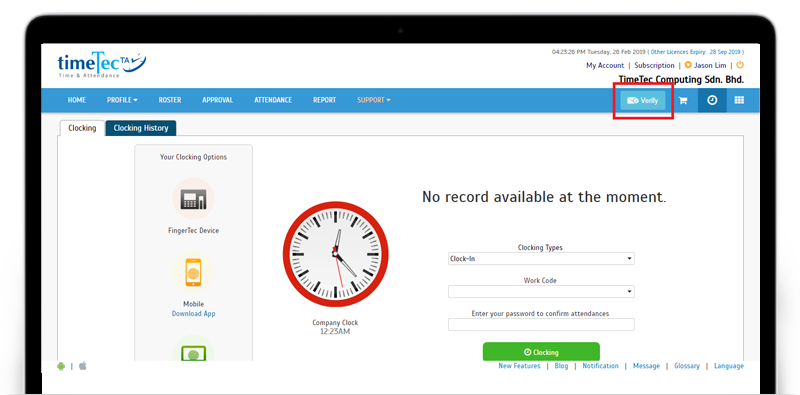
| i. New users need to click on a ‘Verify Email’ icon on the right side of Menu bar to request for emails to be sent to them. |
| ii. Existing users with no history of bounced emails will continue to receive emails as usual. Therefore, they do not need to verify their email address (Icon will not be displayed on Menu). However, for those with a prior record of bounced emails, they must click on the ‘Verify Email’ icon in order to receive future emails. |
| iii. Once the icon is clicked, a verification email will be sent to the email address of the user, containing a link which the user must click to confirm their request. |
| Please refer to the sample screenshots below for further details: |
| a. Added ‘Verify Email’ icon on Menu |
| i. Admin View |
 |
| ii. User View |
 |
| b. Verification Email to User |
 |
| Edit Attendance Approval- Show Device ID and Location in User’s Request |
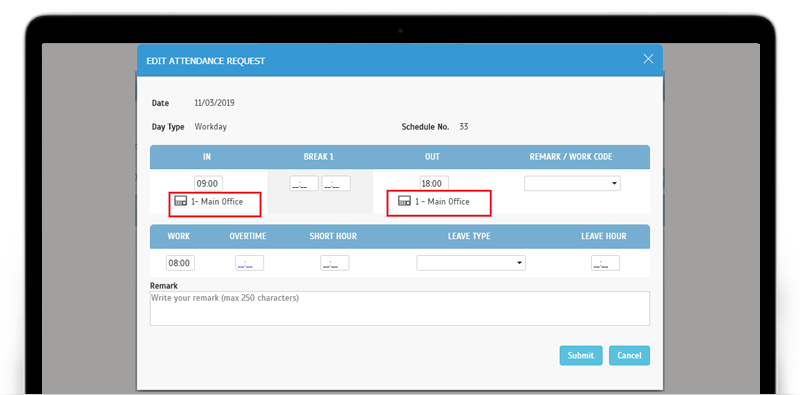
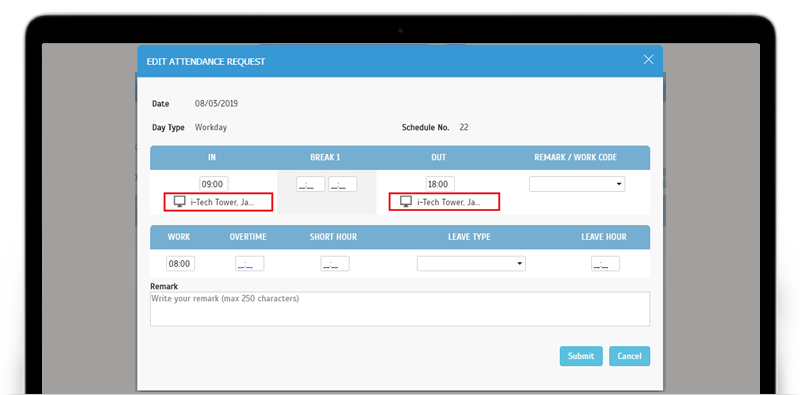
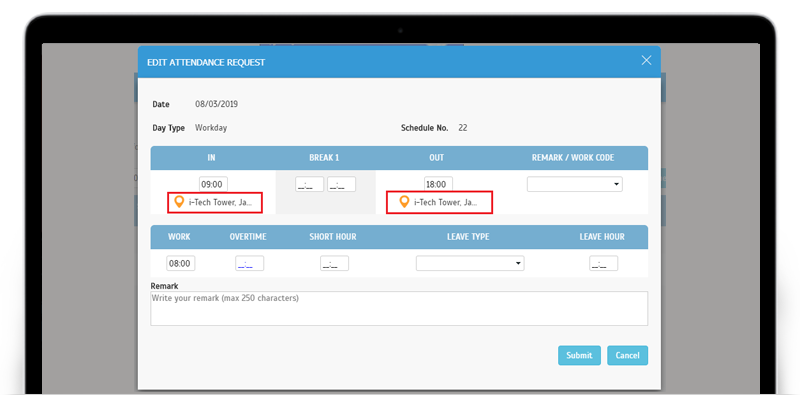
| Next up, we have an update to the Edit Attendance Approval option. When this feature is enabled, it allows users to request for changes to their attendance data which will then be submitted for Manager’s approval. Following a customer request, the Edit Attendance Request form is updated to display the Device ID and Location information for each Clocking time. |
| a. Terminal Clocking |
 |
| b. Web Clocking |
 |
| c. Mobile Clocking |
 |
| Electronic Time Card (ETC) Report- Added tooltip |
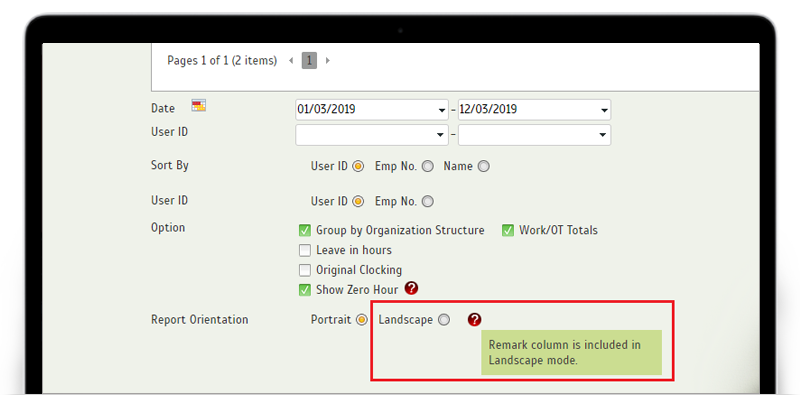
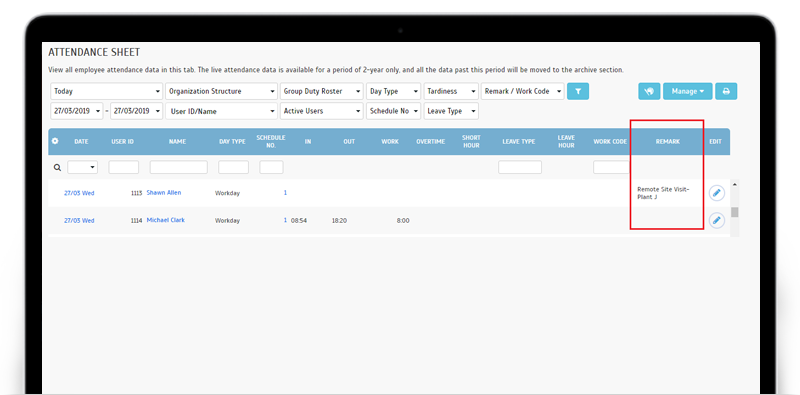
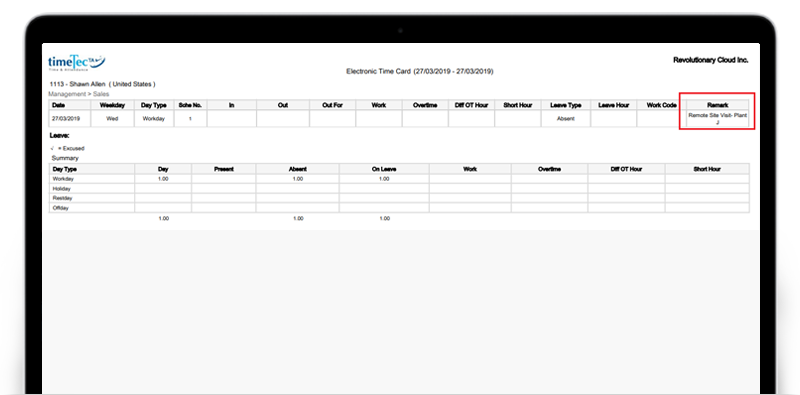
| For the Electronic Time Card Report, we’ve added a tooltip for the Report Orientation option. This is as reminder to Admins that the Remark column for Attendance is only included in the report if you select the Landscape mode. |
 |
 |
 |
| Updated UI based on latest design of TimeTec Access |
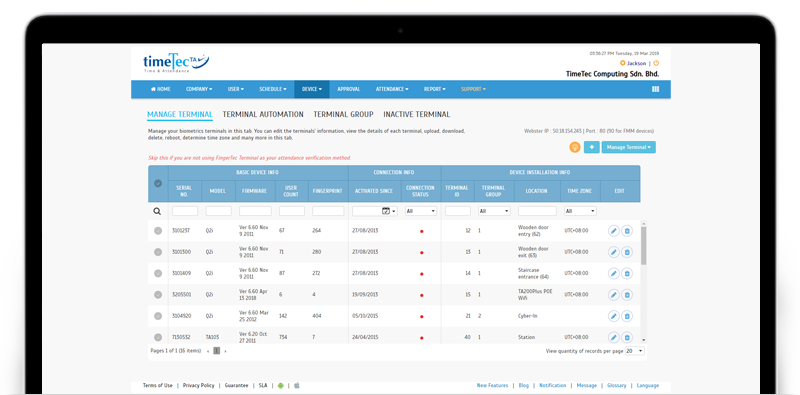
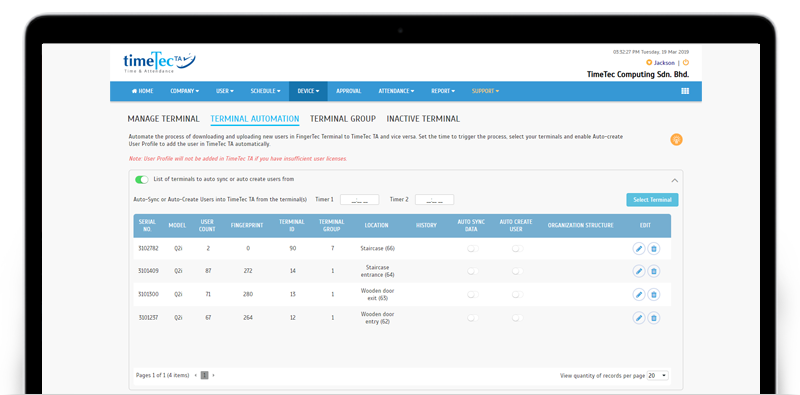
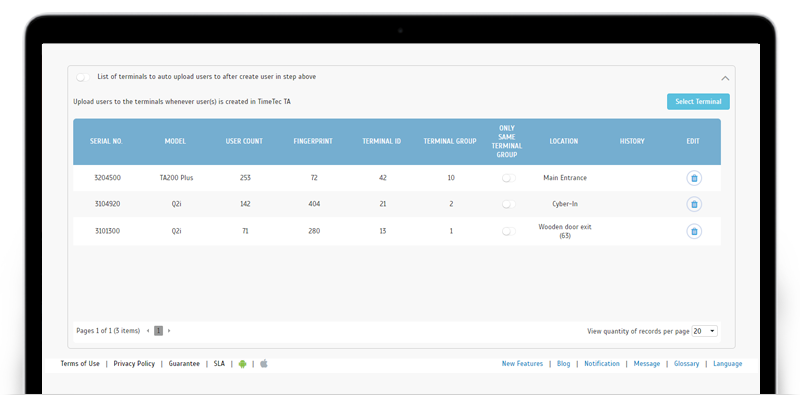
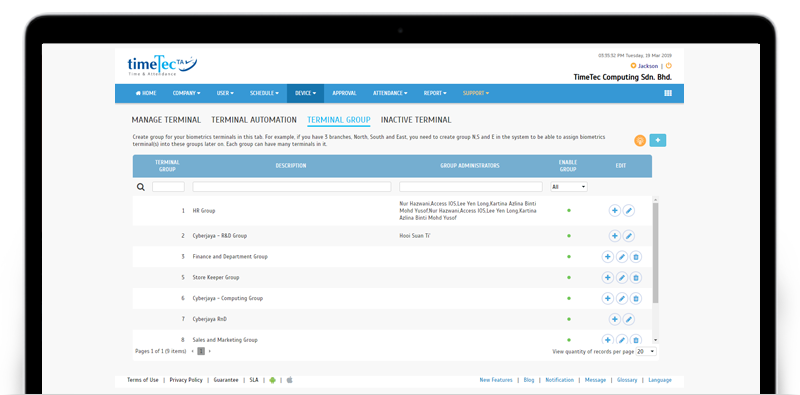
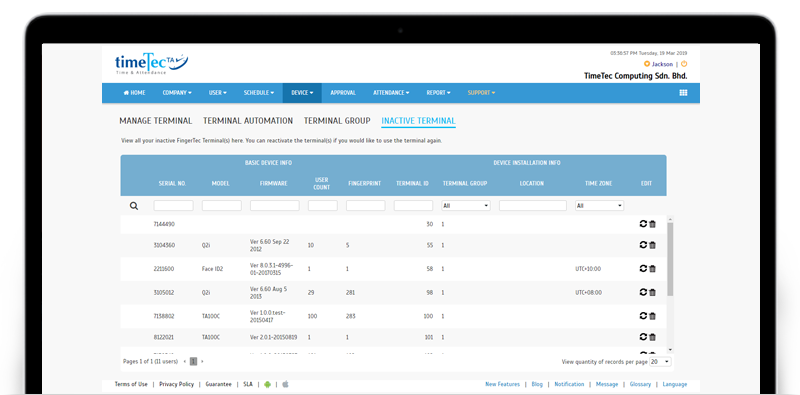
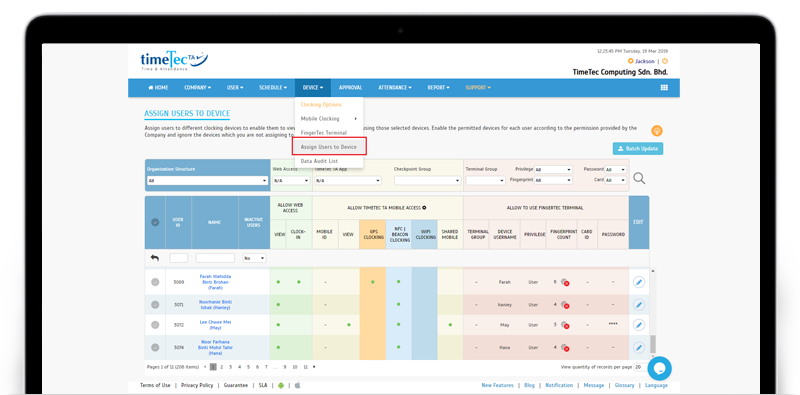
| Recently, we’ve expanded TimeTec’s product offering by introducing TimeTec Access, a new cloud-based access control management system for a larger deployment of mobile-based IoT security solutions. Like the TA solution, TimeTec Access also supports the use of FingerTec terminals. Following the use of a newer design in Access, we’ve also recently updated the UI for TA’s Device module. Please refer to the screenshots below for pages with the new UI. |
| a. Manage Terminal |
 |
| b. Terminal Automation |
 |
 |
| c. Terminal Group |
 |
| d. Inactive Terminal |
 |
| e. Assign Users to Device |
 |
|
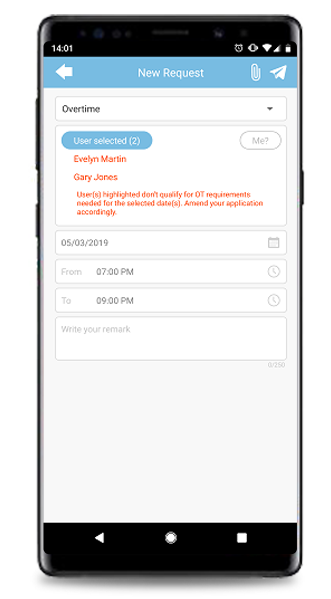
TimeTec TA App Update
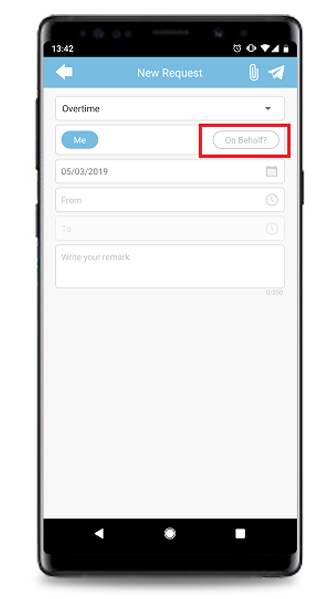
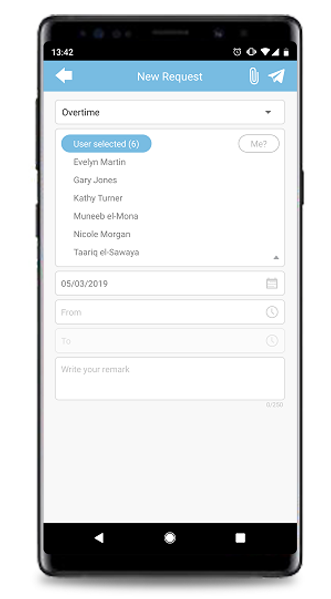
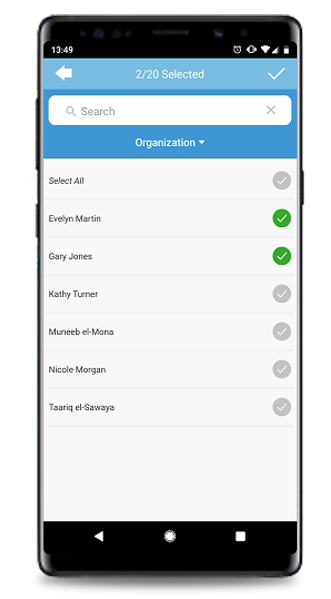
1. Approval |
  |
  |
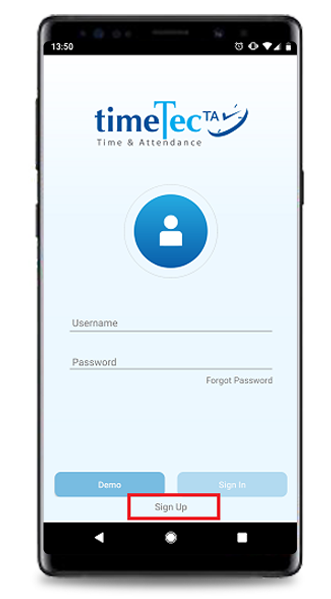
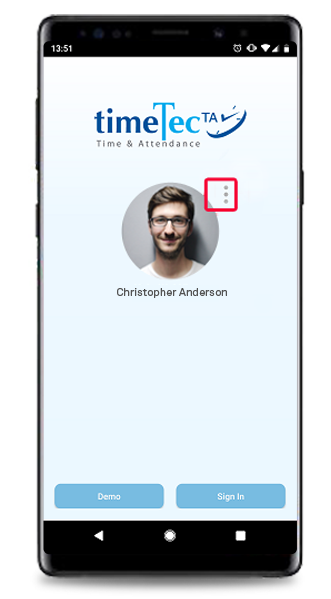
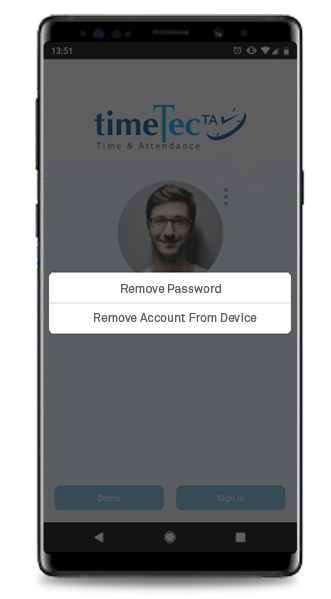
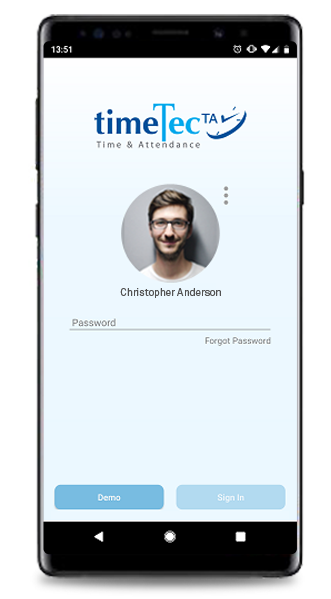
| 2. Sign In New Sign In UI, with link for Sign Up. |
| New App Installation: Link for Sign Up |
  |
  |
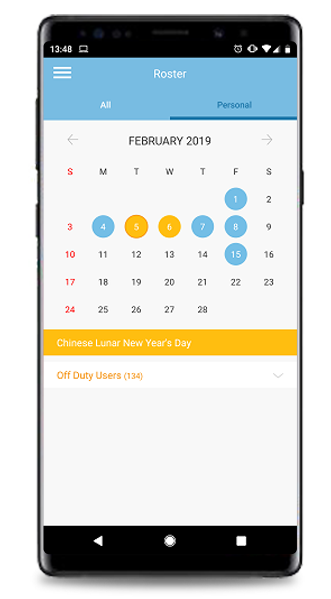
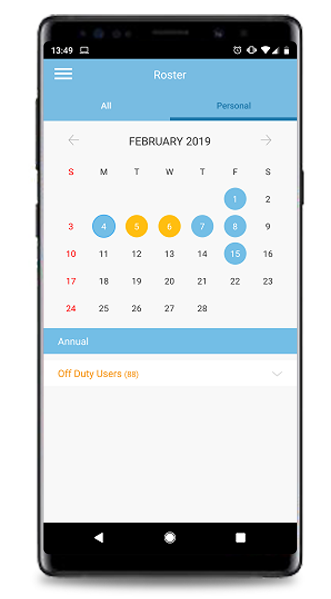
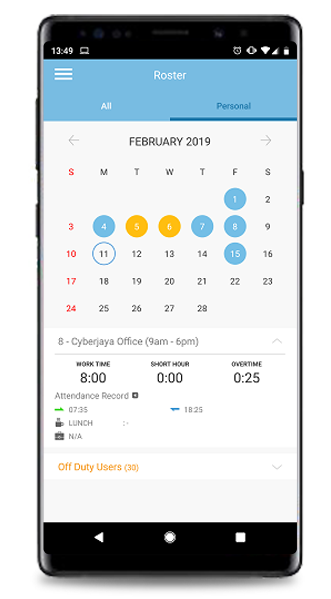
| 3. Roster Color standardization with TimeTec Leave (e.g. Blue - Leave, Yellow- Holiday) |
  |
 |
| Previous Issue: Feb 2019 • Jan 2019 • Dec 2018 |
| Note: If some of the screenshots or steps viewed here are different from the ones in the current system, this is due to our continuous effort to improve our system from time to time. Please notify us at info@timeteccloud.com, we will update it as soon as possible. |
© 2019 Timetec Computing Sdn. Bhd. All rights reserved.
